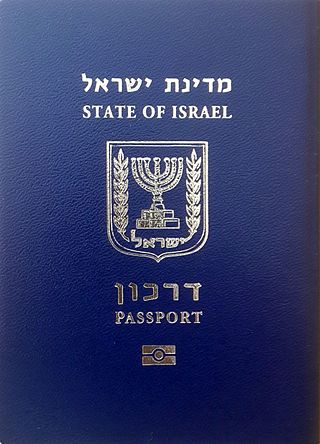
For adults living in Israel, a passport will last just 10 years, and must then be renewed. Recently, the biometric passport has become the standard. Old passports will expire, and those living in Israel will then need to obtain the new biometric passport. In addition, the old ID (Teudat Zehut) is being phased out. When one applies for one’s new passport, one will also need to obtain a new Teuhat Zehut (identity document). It is all easy enough to obtain – so long as one meets the requirements. What, however, must one do in order to obtain the new passport in the easiest, least frustrating manner as possible? We’ll explore the exact process in this article, letting you know what you’ll be in for and offering you some much needed tips!
For those living in Jerusalem (those to whom this post is addressed), you can obtain your passport at the Misrad Hapnim (the Ministry of Interior) situated at Queen Shlomtzion Street 1 (see map below for directions):
You can choose to go early in the morning and be as close to being first in line and continue your application from there, or you can choose another quicker method! Here’s how things work if you choose the quick method:
- Visit www.myvisit.com
- Register your details with them. You’ll need to enter your cell phone details for confirmation
- You’ll then need to find עירית ירושלים – the Jerusalem Municipality and select that in order to make an appointment
- Select a convenient time to go in. (They are quite good about keeping booked times, so don’t go early hoping for an extra early appointment after having already booked. Do be there a few minutes earlier – just in case they can take you then or have the slot available for you)
- On the day of your appointment be on time! (See 4 above)
- When arriving, you’ll go through the usual security check. After that, you can choose to pay for your passport using the machine around the corner (i.e. before your actual appointment.) If you do so – you will receive a discount! You may well end up paying ₪155 for your new passport instead of the ₪250 they will ask for when you see the assistant in person
- Using the machine means you’ll need to know Hebrew. If you don’t – make sure you have a friend to help. You’ll need to enter quite a lot of information including your name, the date you made Aliyah, and some other important personal information. The machine will usually not print anything for you – but it will give you a number to indicate you’ve made your payment via credit card. Make sure to have a pen and paper handy and write this down – just in case the assistant cannot find proof of payment and needs the number!
- Once paid for – go to the ticket area just ahead and tell them you have booked your appointment. They’ll ask your details (ID number) and then issue a ticket.
- Take your ticket to the information counter upstairs (floor 2) and they will then issue you with a proper number.
- Take a seat in the main hall opposite and wait for your number to be called / displayed on the monitors
- Once in front of the assistant, you’ll be asked a number of questions. You’ll need to have a decent command of the Hebrew language to answer properly. They’ll be asking you things such as your favourite colour, your date of Aliyah, and a variety of other personal questions. These will be needed for security reasons.
- After all the questions, they’ll need to take your fingerprints using a computer machine. You’ll need to scan a few of your fingers on both hands. This machine does not work like an ordinary manual stamper. There is no need to push hard – just lie your finger on the device!
- After your fingerprints are taken, they’ll take a series of photographs of you using their own machine. Yes, there is no need for you to bring any photographs of yourself. They want things to be exactly the way they want them to be and their new machines are made for that job
- Once this is over, you’ll be done!
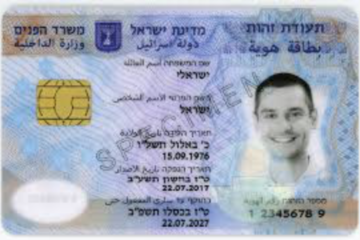
- You’ll also be issued with a new cover for your ID and your old ID will be stamped (and the corners trimmed!) to expire within a couple of months!
- Your new ID (Teudat Zehut) will be sent to you in the coming weeks. You will need to answer a secret code to the person who will be phoning you – to let them know this is actually you and that he can deliver it to you. They will have already issued you a piece of paper at the Misrad Hapnim – so don’t worry – you’ll have it!
- They will hand deliver your new ID, and the passport will be sent when ready. This can take up to a month or so.
These steps cover the most important parts of applying for and receiving your new passport and ID. Remember, if you come prepared, you’ll find things move smoothly! If, however, you are not prepared, you may find yourself running around and maybe even missing your turn – or having to pay more for your passport than you really should have!
As always BeHatzlachah – and remember, if you’re not feeling comfortable with it all, or find it too difficult to deal with on your own, contact us directly and we would be delighted to assist you in person, take you through to the department and help you with any steps you are battling with!