Our previous post about Trissim spoke about the ins and outs of Israeli shutters, and how the Tris works. This post details with photographs – step by step, the exact procedure necessary to actually fix the Tris.
Here’s how to do it:
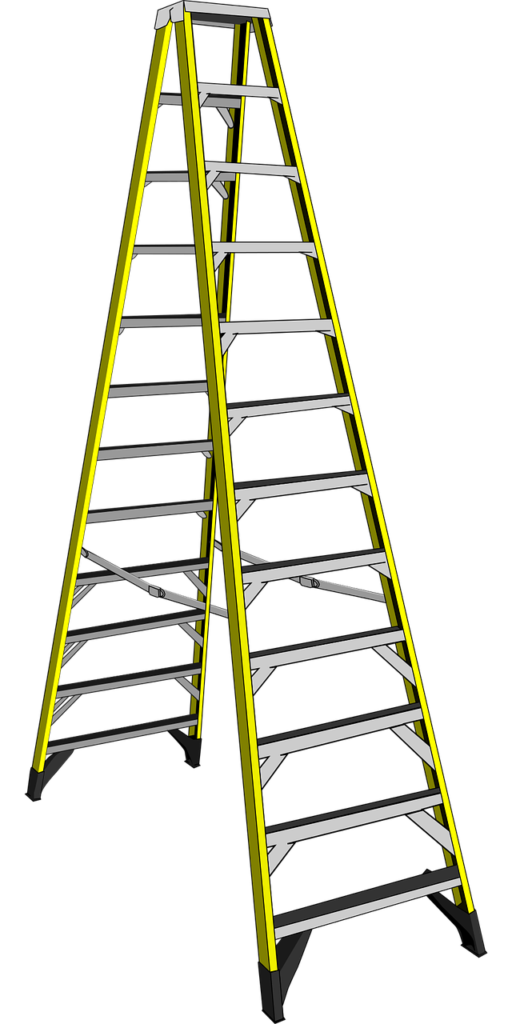
Ladder
1. Get yourself a ladder. They cost about 150-300 shekels and are a great investment! You’ll find a variety of needs for it once you start living in an apartment. The sooner you get one, the better! Otherwise, you’ll need to borrow one from your neighbour. Behatzlacha! (Good luck!)
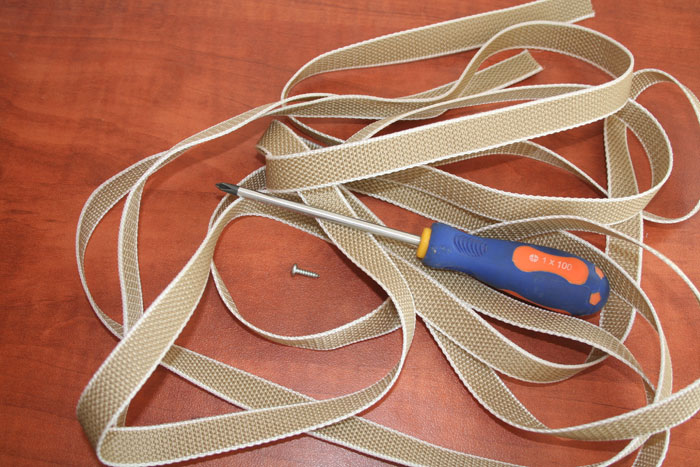
Tools Needed to Fix Your Israeli Shutters (Trissim)
2. Get yourself a new strap (see picture above) – cost about 4 shekels! Tell the store owner you need a Retzua for the Tris and tell him if you need it for a door (to the balcony) or just a window. This will change the length of the strap. A window needs a 4 metre strap.
Screwdriver Perforating Strap (Retzua) for Israeli Shutters
3. Get yourself a tiny screw (see picture above) to be inserted in a very small hole that you’ll see – which holds the strap inside a wheel that holds the Tris up (see pictures below.)
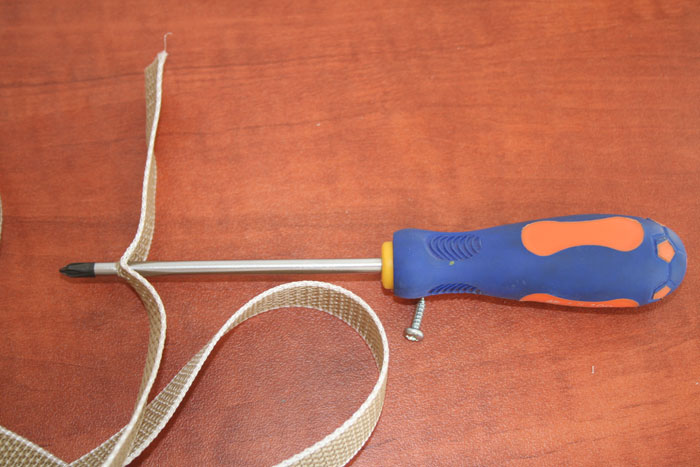
4. Puncture your strap with the screwdriver. (Picture above.)
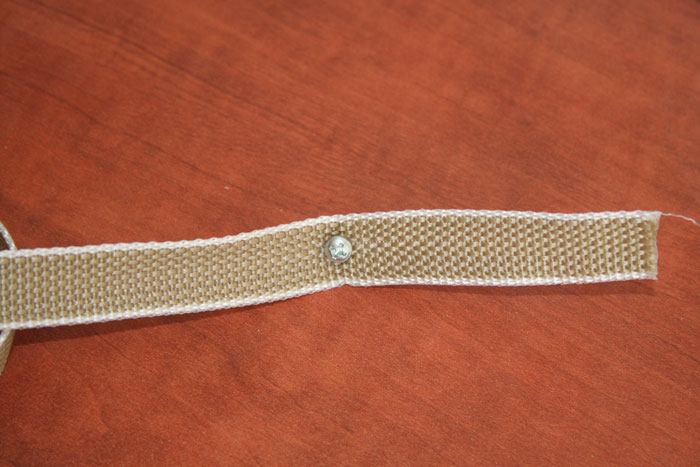
Screw Secured Through Strap for Israeli Shutters
5. Insert small screw inside hole (picture above.) This screw will be inserted in the pulley wheel. See later.
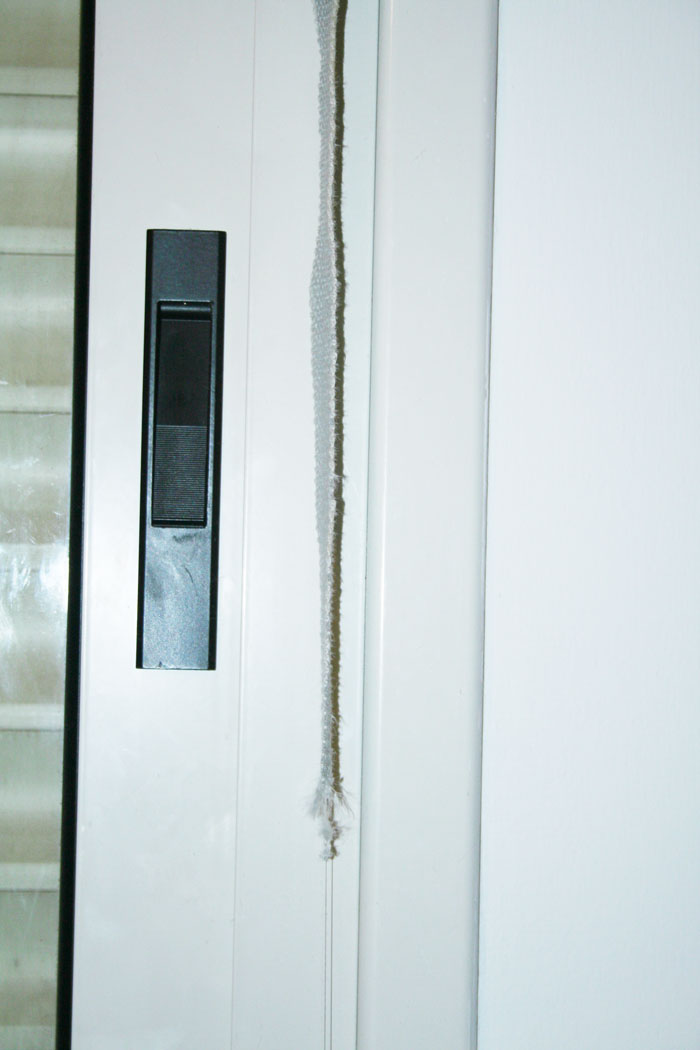
Broken Strap of Israeli Shutters
6. Go back to your Tris. Locate the offending menace! You’ll see a very sad looking broken strap (picture above.)
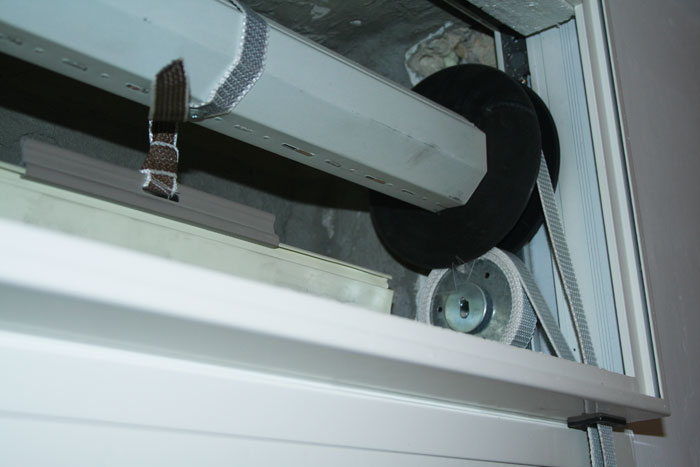
Large Box Containing the Israeli Shutters Inside It
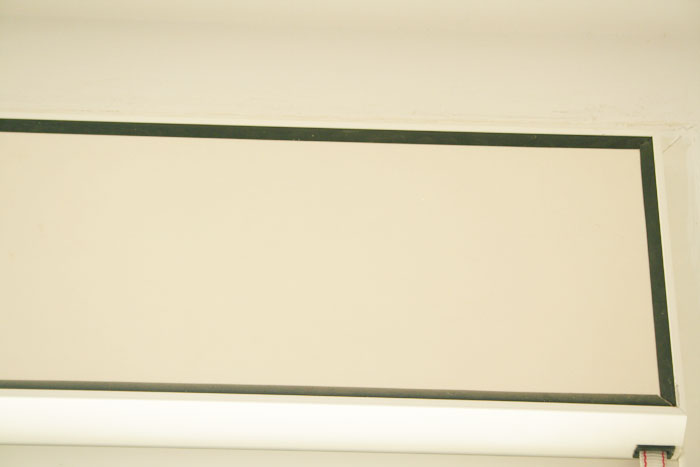
7. Take a look directly above. You’ll see a box with the previous strap (right bottom of picture above) still hanging “strongly”. The four black rubber strips (three which can be seen in this picture) around the box are easily removable by simply pulling them off with your hands. WATCH OUT! Don’t let the “very well made” board fall on you as you remove the rubbers. These things are standard in every apartment, and nobody has put much time into making sure everything works safely!
Open Box Containing Israeli Shutters
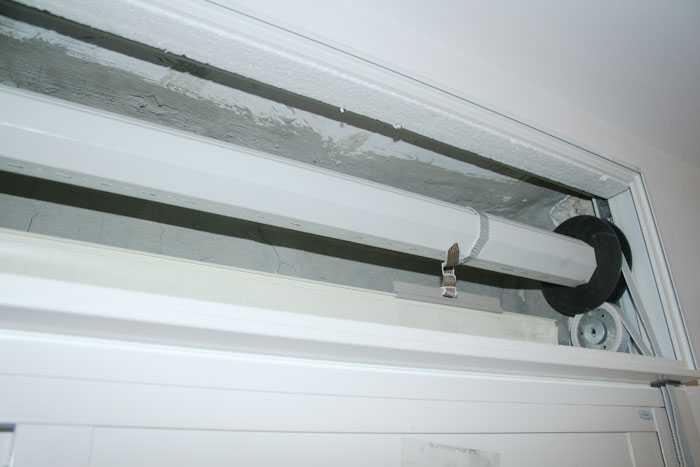
8. Check what’s going on inside this unbelievable machine! What a master system (picture above, in case you’re wondering.) You’ll see two pulleys designed to work together. As you pull the strap they move about pulling the shutters up or lowering them gently. Or (once the strap breaks) lowering them with a THUD!
Open Box Containing Israeli Shutters (Left Side Showing)
9. The picture above shows the tremendous craftsmanship of the Israeli shutter and how they manage to get them to hold so steadfastly!
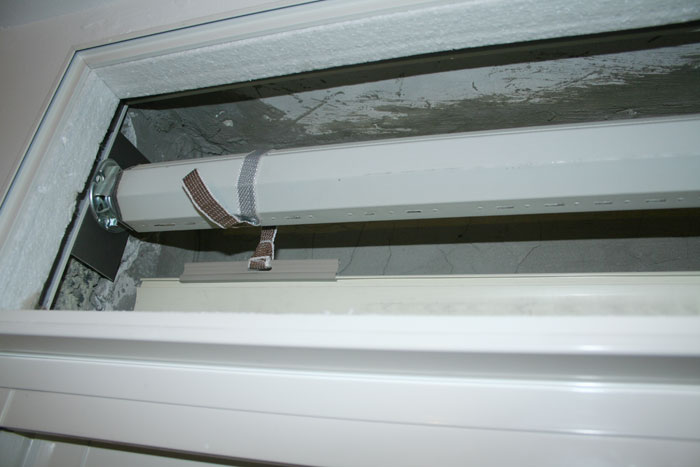
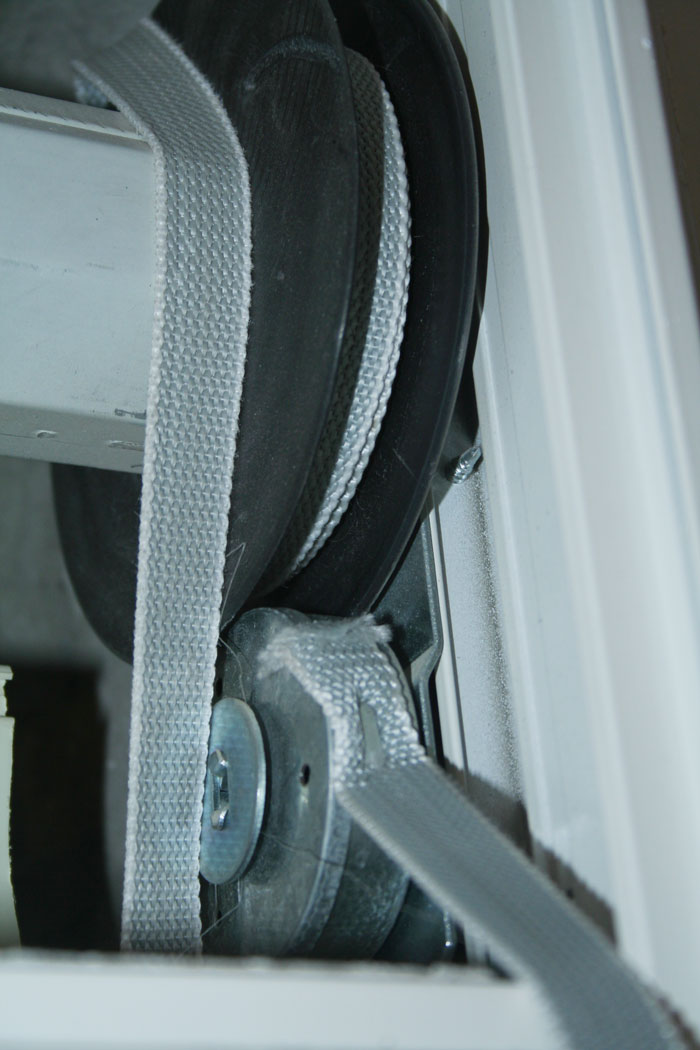
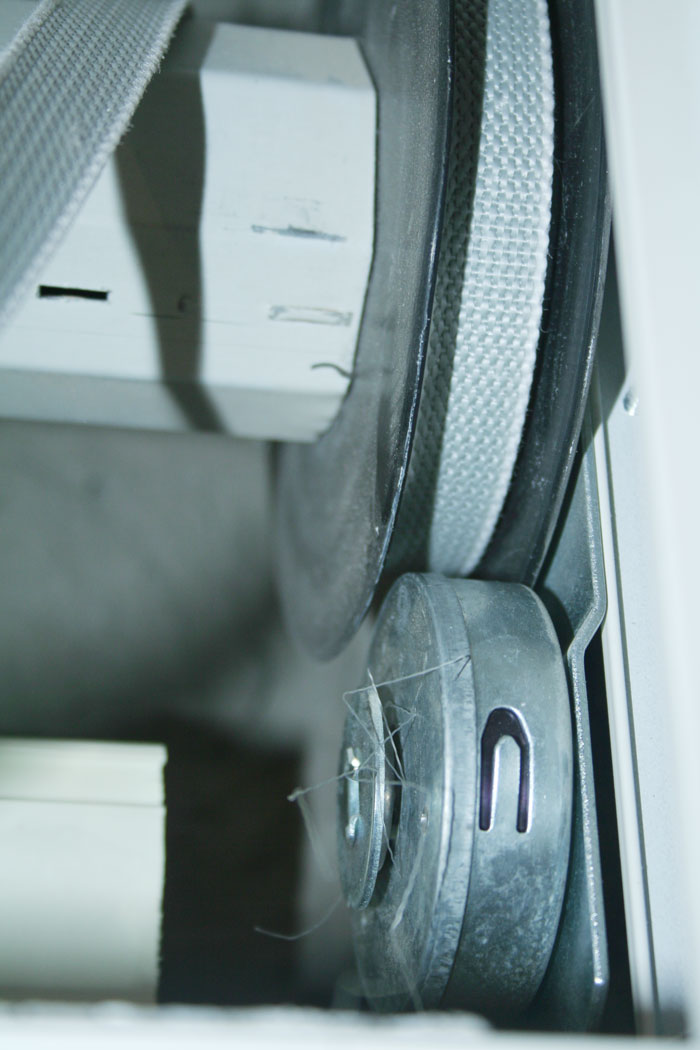
Open Box Containing Israeli Shutters (Right Side) Showing Springs, Wheels and Attached Straps
10. Notice in the picture above at the pulley system and how the straps fit through two tiny thin holes (bottom right of picture) to get through and hang downwards. You’ll best use tweezers to pull the straps through these holes!
You’ll see the inside of how the Tris actually works. You’ll probably find that there are two wheels which allow for the raising and lowering of the Tris. The strap moves onto the one wheel and then the other as it is raised and lowered.
11. The bottom wheel is a spring (that also breaks quite often and must be replaced in its entirety – costing just a “few bob” every time) and it makes sure that everything holds strong (until it breaks of course!)
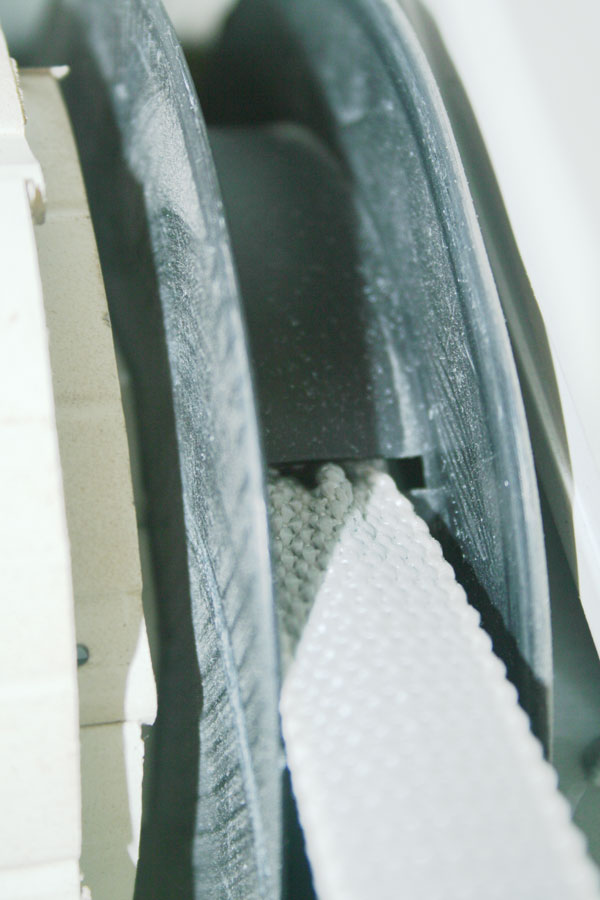
12. Pay attention to how the straps are currently set up and remember the order for when you replace it. You’ll see that they ultimately go from the wheels through tiny slits at the bottom area of the box which then allows for the straps to hang securely until the area (about 1.5 metres) where there are another two loops to thread the straps through and back up again to the top. (See picture below.)
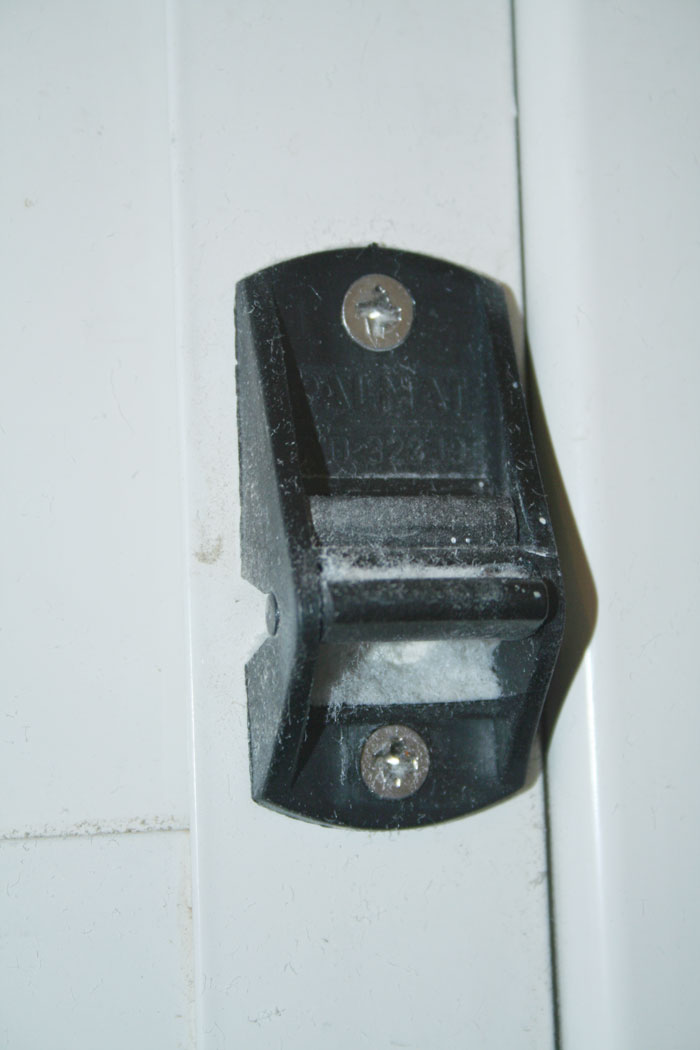
Loop Area Where Straps Attach For the Israeli Shutters
13. The picture above shows the unit designed to loop the straps through on the bottom of the window area. You’ll be inserting the strap in the back side, then wind it around the front, and then straight up through those pathetically thin holes we spoke about above.
14. You may need some force (as with many Israeli things) to pull out the old broken strap. Do it!
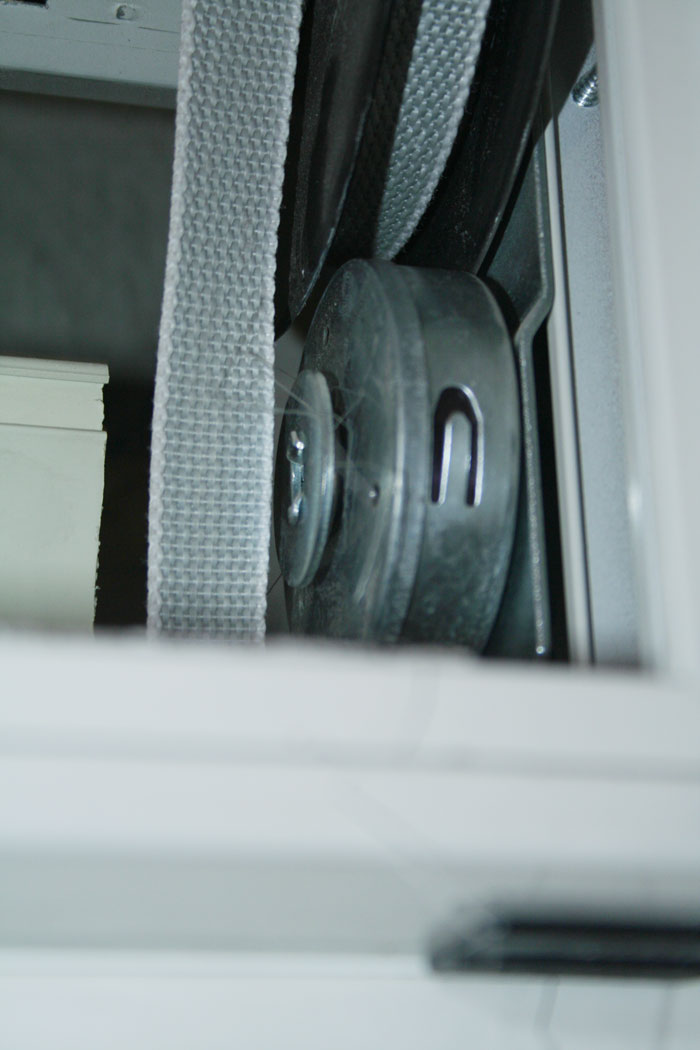
Inside Strap Attached to Wheel Over a Jutting Out Piece of Metal
15. Notice in the pic above how the strap is forced onto the spike to hold it in place. You’ll have to pull the old strap off that spike first before replacing it. WARNING! That unit is actually a spring. When you pull the strap off, KEEP YOUR FINGERS AWAY! It will spin around. If your finger is there, it will get a nasty cut!
Showing Inside Spring of the Israeli Shutters
16. Now, wind that spring wheel up some 10 or 15 rotations so that it’s holding strong! Don’t let it go! You’ll notice the sharp pin standing up. You need to use a screwdriver or the like to make a hole at the top of one end of the strap. That hole will now go over the sharp pin.
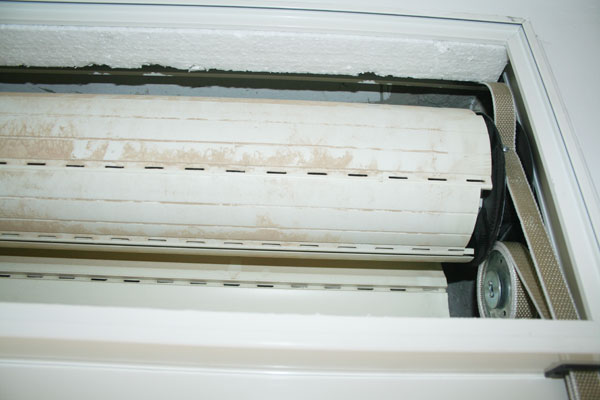
Pulleys of the Israeli Shutters
A View of the Top Pulley of the Israeli Shutters
17. GENTLY start letting go of the spring. As you do so, it will begin winding the strap around itself. GREAT… it’s working!
18. Feed the strap through the tiny slit leading towards the bottom looped ring (1.5 metres down) and loop it under and through as you now pull the string upwards and back to the big box where you’ve just been busy in.
19. Feed the strap through the slit leading into the box.
20. You’ll see that it’s now only the bigger wheel (not the spring wheel) that is empty. (See picture above.) Here you’ll notice that the original “craftsmen” forced the strap into an open area on the bigger wheel in the hope of holding it. In this case, they did such a good job, that it was practically impossible to remove the strap completely! In fact there is still a piece hanging there to this day. There was no need to force it in there! There is a tiny hole (see picture below) where the screw is screwed in to hold the strap in place. There was no need for such unwanted force!

View Showing Screw in Place Holding Strap of the Israeli Shutters
21. Start rolling up the actual Tris until it’s holding right at the very top. Your window will now be open and you will be holding it like this until you finish attaching the remainder of the strap to hold itself.
22. If you’ve done this correctly, when you’ve rolled the entire Tris upwards, you should see that on the bigger wheel, there will be a very very small hole in front of you (see picture above where the screw is already in place.) If you now pierce the other side of your strap and stick the screw through it – and then stick this into that hole (with the strap now holding securely) your Tris will be holding itself up – by the tiny screw!
View Showing Strap in Place Over the Pulleys
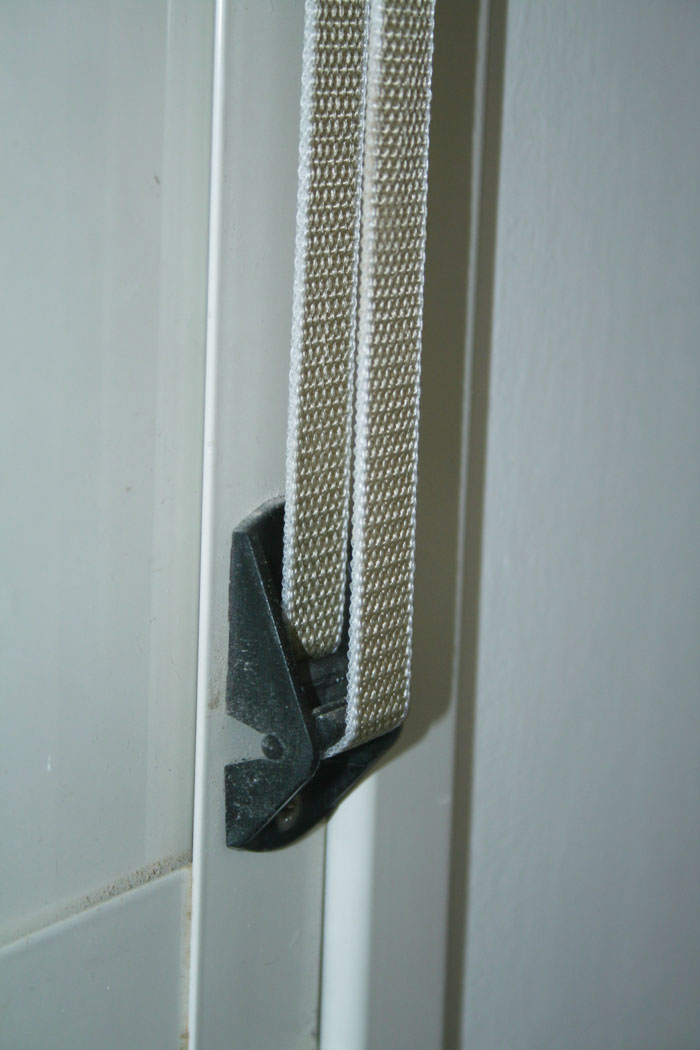
View Showing Strap in Place Through the Loop on the Outside
23. You’re good to go.
Your loop should be secure on the bottom, and holding strongly on to the two pulleys above.
You can now replace the main board and stick the rubber strips back into place again. They fit in easily and you’re all done!
Incidentally, if you’re wondering why they couldn’t manage to design an assembly a little easier and more stable to work with – you’ve asked a great question. One which many others have asked. Don’t get yourself down over it though. Most people will simply welcome you to the way things are made in Israel. It will work and keep itself okay – for another six months or so. Then be prepared to repeat these actions again.
Oh, if you are fortunate enough to have more than one window in your apartment, do remember, you’ll need to do this on all your windows – at least once every six months or so. So don’t get rid of the ladder, keep a good stock of tiny screws, and have at least one screwdriver available.
Remember this: If you haven’t yet been able to find a job in Israel – though you’re a qualified brain surgeon with over 20 years experience, you can always fix shutters (and end up making much more money too!)
This article is copyright
and may not be used without written permission from the writer
Humour added only for adding a little fun into the article.